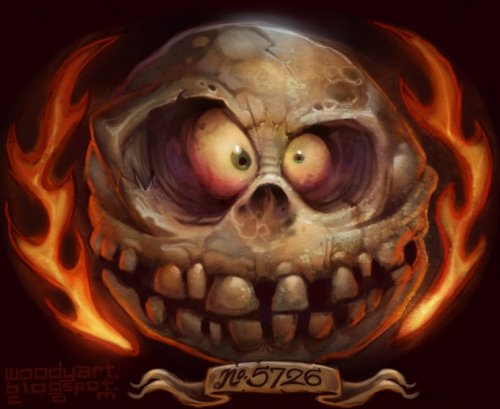
 Skulls are one of my favorite things to draw(I know it's juvenile). But I figured with it being close to Halloween-n-all it would probably be ok. And oh yeah I almost forgot the fire, I like fire too.
Thursday, September 28, 2006
I heart skulls
Skulls are one of my favorite things to draw(I know it's juvenile). But I figured with it being close to Halloween-n-all it would probably be ok. And oh yeah I almost forgot the fire, I like fire too.
Wednesday, September 27, 2006
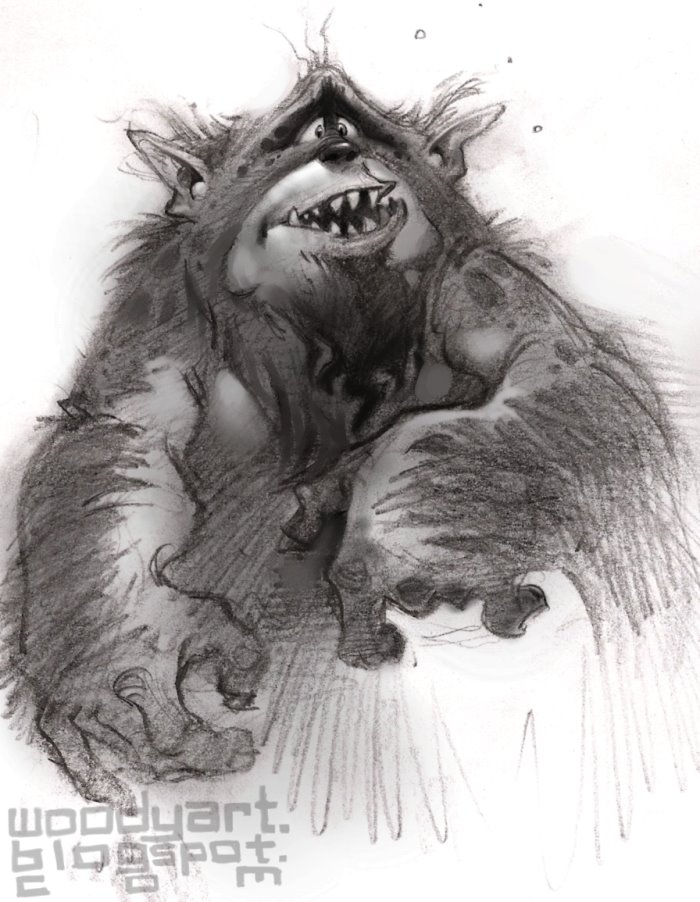
Dead Jujus


In the spirit of all the Halloween-ish posting going on, here's some old unused Tak concept that could be considered appropriate to that special holiday.
Monday, September 25, 2006
Friday, September 22, 2006
Impy McFly
 I drew this imp for the Monsterosity blog, check his fact sheet there too. I hope it's not too annoying to add the web address to the signature. Don't ask why he likes flies, I have no idea.
Wednesday, September 20, 2006
Tuesday, September 19, 2006
Thursday, September 14, 2006
Sneaky Snake Witch
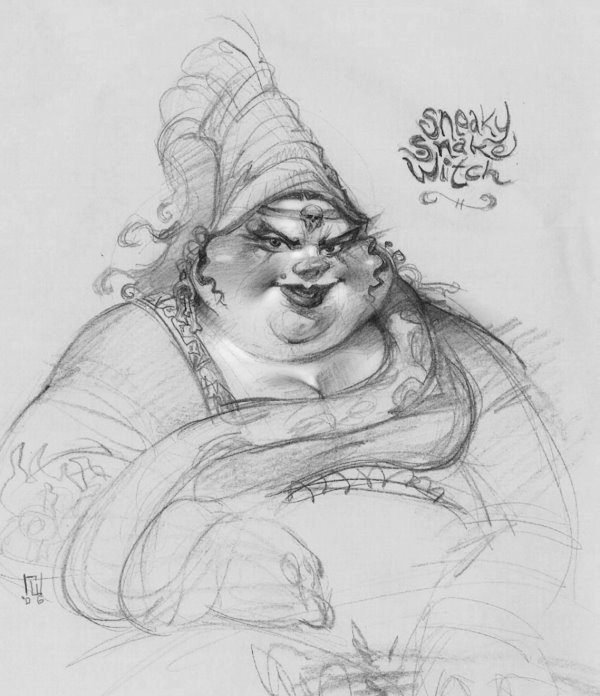 I wanted to try a different take on a regular witch, so I added a snake. I like her less the more I look at her. Ick.
Tuesday, September 12, 2006
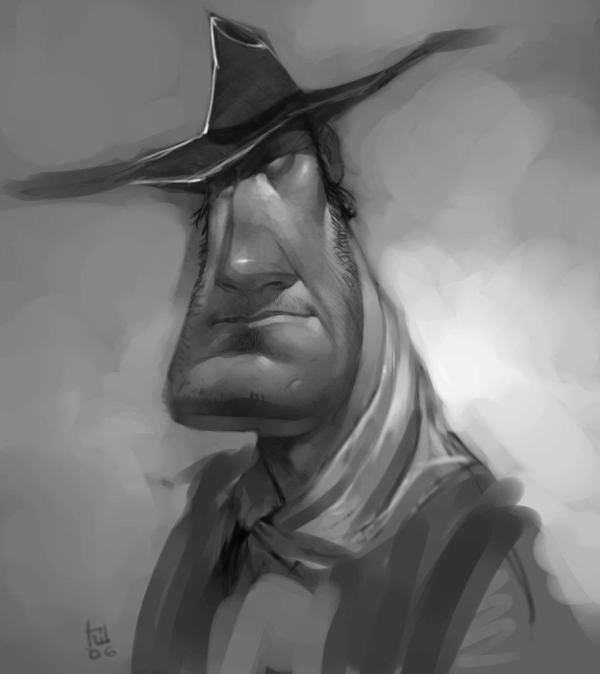
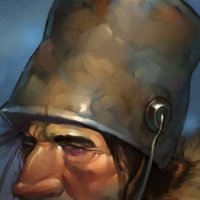
Sketchy Vikes times two


Saturday, September 09, 2006
Jibber Jabber Tribe color
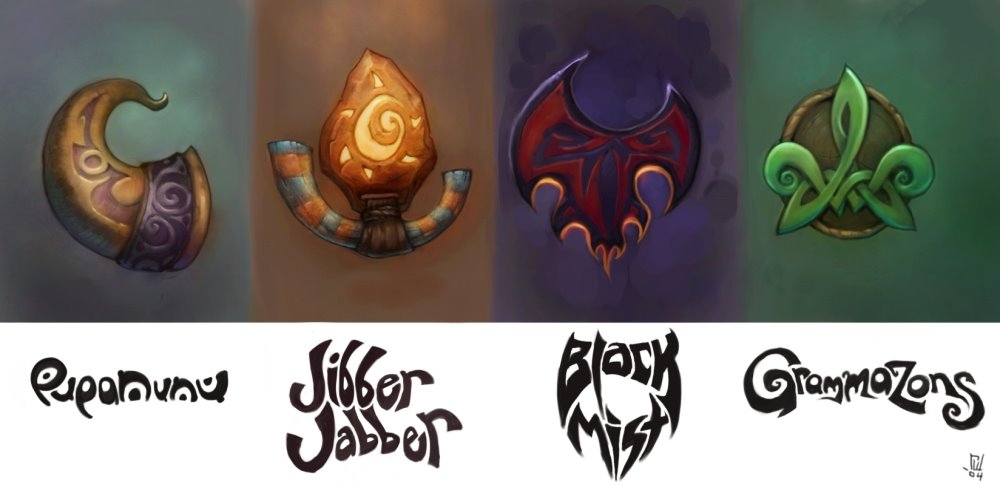
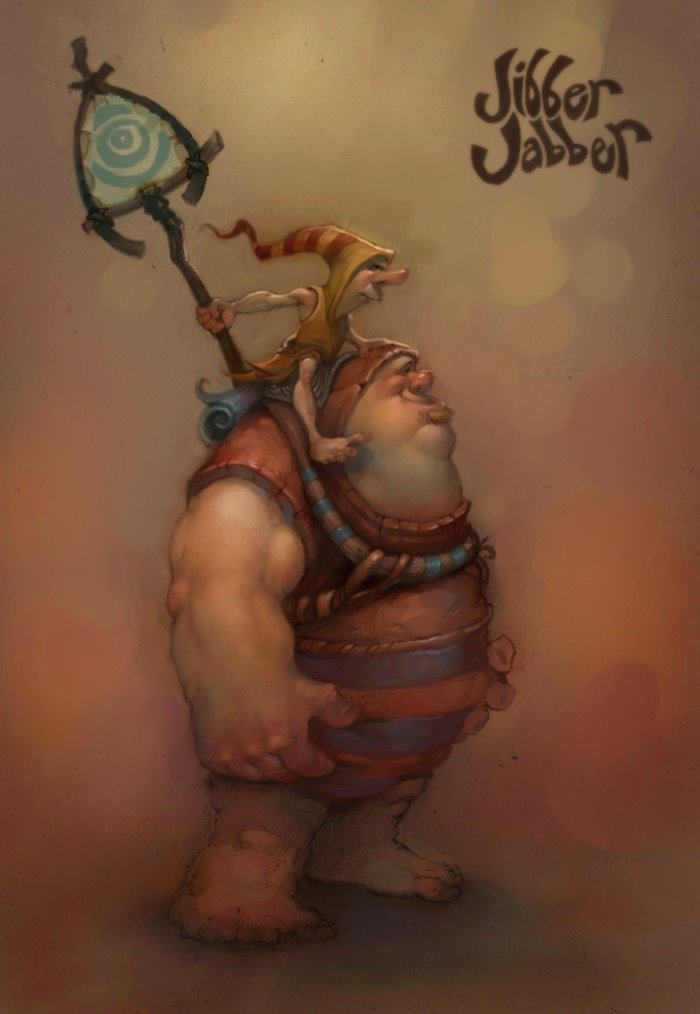 OK, this is the last of the Tak tribe colorings, The Jibber Jabbers. Based on Todd's original design.(BTW, if Todd gets 100 comments on his blog, he just might post something....or not.)
Wednesday, September 06, 2006
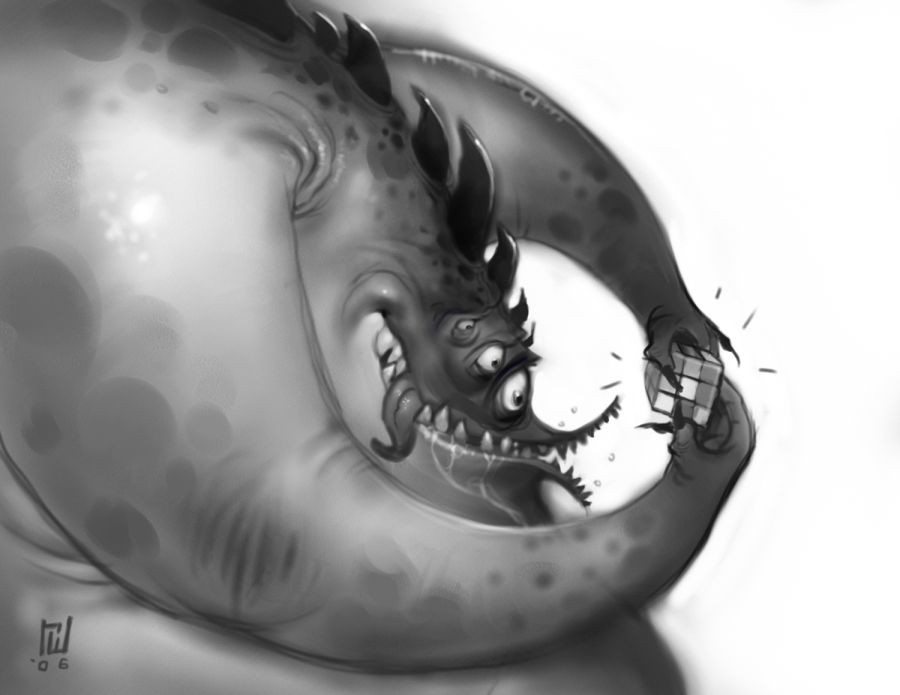
Goofy Kraken

I know the kraken from Pirates is way cooler & such, but I wanted to take a stab at a goofy kraken who had just broken wind...err umm.. bubbles.
Tuesday, September 05, 2006
canhead tutorial
Since I've had a few people ask about process, I decided to post a brief tutorial I did a while back on how I translate a pencil sketch into a painting in Painter. It's a little out-dated, clunky & whatnot, but the basic principles are still there. The brushes I cited toward the end aren't all that relevant, so there you go. Proceed with caution.
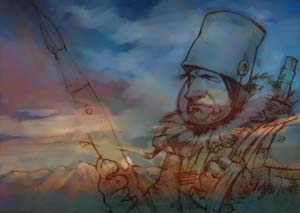
Step #1 Pencil Sketch
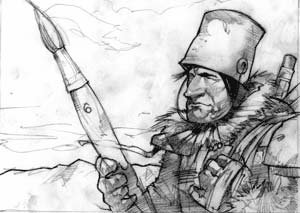
I started off by scanning in this pencil sketch at 300 dpi, then modifying the Effects> Tonal Control> Brightness / Contrast to eliminate the muddy gray areas. Then go to Select>Auto Select. in the Auto Select dialog box, use Image Luminance and click OK. Next, I copy and paste that layer (ctrl+C>ctrl+shift+V). This made the white areas of the sketch transparent. However, it produced a washed-out version of the original sketch. To correct this, I selected the sketch layer in the Layer palette then filled (Effects> Fill...(ctrl+f) with black. This restored the sketch to its original tonality. At this point I now had a floating version of my pencil sketch that was transparent in its white areas. This allowed me to paint on the canvas below and not disturb the sketch floating above.
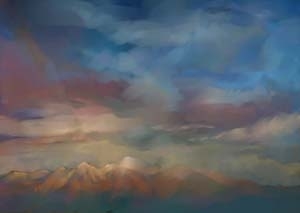
Step #2 Rough Background Painting

Before painting the character's head, I put down a rough background on the canvas behind the sketch. I used the Opaque Flat brush (Brushes Palette> Brushes> Opaque Flat) to block in the different areas of color in the painting. I turned the opacity down to about 10% using Brush Controls> General> Opacity, which helps the brush strokes build up a variance of color as they're applied over each other. As far as color goes, I try to use fairly saturated colors because I can always tone it down later, and it's harder to go the other way. After I blocked in the clouds and mountains I was ready to move onto the next stage.
Step #3 Rough Background with Sketch
Now that the background was roughed in, I could start on blocking in the colors for all of the elements in the foreground. At this point, I selected the sketch layer in the Objects> Layers palette and dialed the Opacity down to about 60%. This helps me see what's going on with the colors underneath. Once I had all the colors blocked in, I had to select the sketch layer to collapse it with the canvas (Objects> Layers> Drop) so I could start the long process of "noodling out" all of the edges. The end goal is to get rid of most of the sketch lines. The next part took the longest, but I feel it's the most rewarding.
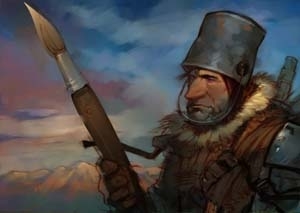
Step #4 Rough Colors on Subject

After the larger areas were blocked in, I used Brushes Palette> Brushes> Digital Airbrush set at a small size in Brush Controls> Size (5 or less) and a high opacity in Brush Controls> General> Opacity (80% or greater) to add highlights and render out the detailed areas. To work color into dull areas, I used a big (30 or greater) airbrush at a low opacity (10%), and lightly applied a saturated color. To blend rough edges, I used a variant like Brushes Palette> Brushes>Smeary Round. This brush smears and blends any existing color on the canvas with light pressure and applies the Current Color to the canvas with increased pressure. The individual brush hairs of the Smeary Round brush provide a "painterly" quality.
Step #5 Final Details
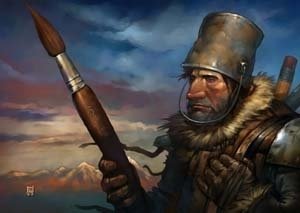
Next came the finishing touches. This is the polishing stage where I focus on the highlights of the paintbrush, the guy and his can... I always save the highlights for last.
Step #1 Pencil Sketch

I started off by scanning in this pencil sketch at 300 dpi, then modifying the Effects> Tonal Control> Brightness / Contrast to eliminate the muddy gray areas. Then go to Select>Auto Select. in the Auto Select dialog box, use Image Luminance and click OK. Next, I copy and paste that layer (ctrl+C>ctrl+shift+V). This made the white areas of the sketch transparent. However, it produced a washed-out version of the original sketch. To correct this, I selected the sketch layer in the Layer palette then filled (Effects> Fill...(ctrl+f) with black. This restored the sketch to its original tonality. At this point I now had a floating version of my pencil sketch that was transparent in its white areas. This allowed me to paint on the canvas below and not disturb the sketch floating above.
Step #2 Rough Background Painting
Before painting the character's head, I put down a rough background on the canvas behind the sketch. I used the Opaque Flat brush (Brushes Palette> Brushes> Opaque Flat) to block in the different areas of color in the painting. I turned the opacity down to about 10% using Brush Controls> General> Opacity, which helps the brush strokes build up a variance of color as they're applied over each other. As far as color goes, I try to use fairly saturated colors because I can always tone it down later, and it's harder to go the other way. After I blocked in the clouds and mountains I was ready to move onto the next stage.
Step #3 Rough Background with Sketch

Now that the background was roughed in, I could start on blocking in the colors for all of the elements in the foreground. At this point, I selected the sketch layer in the Objects> Layers palette and dialed the Opacity down to about 60%. This helps me see what's going on with the colors underneath. Once I had all the colors blocked in, I had to select the sketch layer to collapse it with the canvas (Objects> Layers> Drop) so I could start the long process of "noodling out" all of the edges. The end goal is to get rid of most of the sketch lines. The next part took the longest, but I feel it's the most rewarding.
Step #4 Rough Colors on Subject
After the larger areas were blocked in, I used Brushes Palette> Brushes> Digital Airbrush set at a small size in Brush Controls> Size (5 or less) and a high opacity in Brush Controls> General> Opacity (80% or greater) to add highlights and render out the detailed areas. To work color into dull areas, I used a big (30 or greater) airbrush at a low opacity (10%), and lightly applied a saturated color. To blend rough edges, I used a variant like Brushes Palette> Brushes>Smeary Round. This brush smears and blends any existing color on the canvas with light pressure and applies the Current Color to the canvas with increased pressure. The individual brush hairs of the Smeary Round brush provide a "painterly" quality.
Step #5 Final Details

Next came the finishing touches. This is the polishing stage where I focus on the highlights of the paintbrush, the guy and his can... I always save the highlights for last.
Sunday, September 03, 2006
Tribe Logos

Subscribe to:
Posts (Atom)

